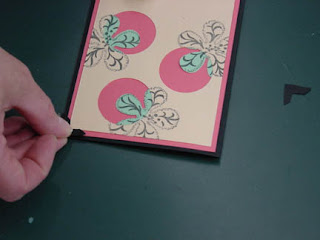
Here we go again -- after a full day of NCAA basketball at the University of Dayton Arena (four games -- the last one went double overtime), Zoe and I made it to the store for Saturday's Make It/Take It (for the uninitiated, Zoe is my dog). Leslie Rogers and her magic feet were instructing the troops again -- more on that later. You get a bonus pair of hands in the pictures, as I took the photos while Leslie was demonstrating the project to a student.

Here are the necessary paper and supplies for this project -- a 5 1/2" x 8 1/2" piece of tan cardstock and a scrap piece at least 2 1/2" x 4", a 4 1/4" x 5 1/2" piece of cream cardstock, a Dorothy Dodd rubber stamp (Rubber Cottage - code # RC4261A), a piece of ribbon, 1/8" thick Pop-Dots, Tombow Mono Adhesive (or your favorite glue), an X-acto knife, a pair of scissors, and a Distress Ink Pad to complement the ribbon.


Ink the stamp thoroughly until it glistens, and then press the cream bristol firmly against the bottom of the stamp (instead of the opposite -- Leslie demonstrated that you can't get a solid image with a stamp this large unless you do it her way). This is my new "find" for the day -- I learned how to put pictures side-by-side in the blog editor.

Ink the cameo portion of the stamp again and stamp that image (same method as above) on the scrap of tan cardstock.


Using scissors or an X-acto knife, cut around the edge of the Dorothy Dodd stamped image, and around the edge of the cameo on the scrap piece.


Cut a Pop-Dot in half and put the pieces on each end of the cameo you cut out. Put Mono Adhesive on the back of the stamped image.


Fold the piece of tan cardstock in half, and put the cream sheet with the stamped image near the top of the front. Then add the tan cameo, directly over the cream cameo on the big image.


With the X-acto knife, make a slit just a little wider than your ribbon in the spine of your card, below the bottom of the Dorothy Dodd image. Then slip your ribbon through the slit and tie it around the bottom of your card.

Depending on the ink and ribbon you use, the finished piece will look something like this.
Thanks to Leslie for teaching this week's Make It/Take Its (and for being a good sport about my foot comments -- see the post below if this makes no sense). Today, she was wearing socks, and was quite proud of the fact that she had made them herself and the patterns matched up perfectly . . .

Perhaps our floor was cleaner today . . .


